Intro
As tech tinkers we often find ourselves at the crossroads of curiosity and professional growth. And sometimes, that intersection leads us to embark on enlightening lab and projects that feed intellectual appetites and lay a foundation for future endeavors…Enter this venture into integrating local Active Directory with Azure AD. This isn’t merely about mastering AD and Group Policy administration; it’s a launchpad.
By uniting the capabilities of AD and Azure AD, I’m not just planning on gaining experience today but laying the groundwork for tomorrow. From advanced Azure networking labs and diving into the world of web apps and Docker container applications to exploring Azure’s security and compliance offerings, there is a lot of fun to be had and knowledge to be learned. Whether for academic purposes, prepping for coveted Azure certifications, or just the sheer joy of creation, this hybrid AD setup is the cornerstone.
Why embark on this journey? Beyond the invaluable learning and the thrill of hands-on challenges, it’s a blueprint for seamlessly managing local and cloud resources.
Setting Up Local Active Directory
Before diving into Azure, we need a functioning AD locally.
VirtualBox & Windows Server
I started with a straightforward setup:
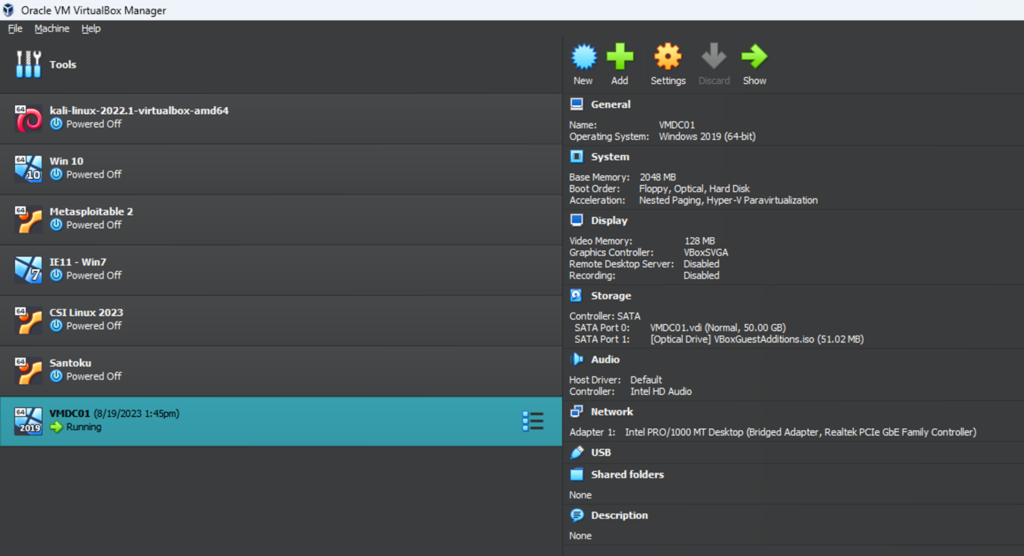
A Windows Server VM running on VirtualBox on my primary desktop. However once I complete my Hyper-V server build, I plan to migrate this setup over to it. But for the time being, this arrangement works fine, so work with what ya got.
Installation
Create a new VM, selecting the Windows Server as the OS. Assign sufficient resources: CPU, RAM, and storage.
Windows Server Configuration
- Basic Settings – After your Windows Server is up and running, lock in a static IP address and choose a fitting hostname. ‘DC-LABS’ is a solid pick.
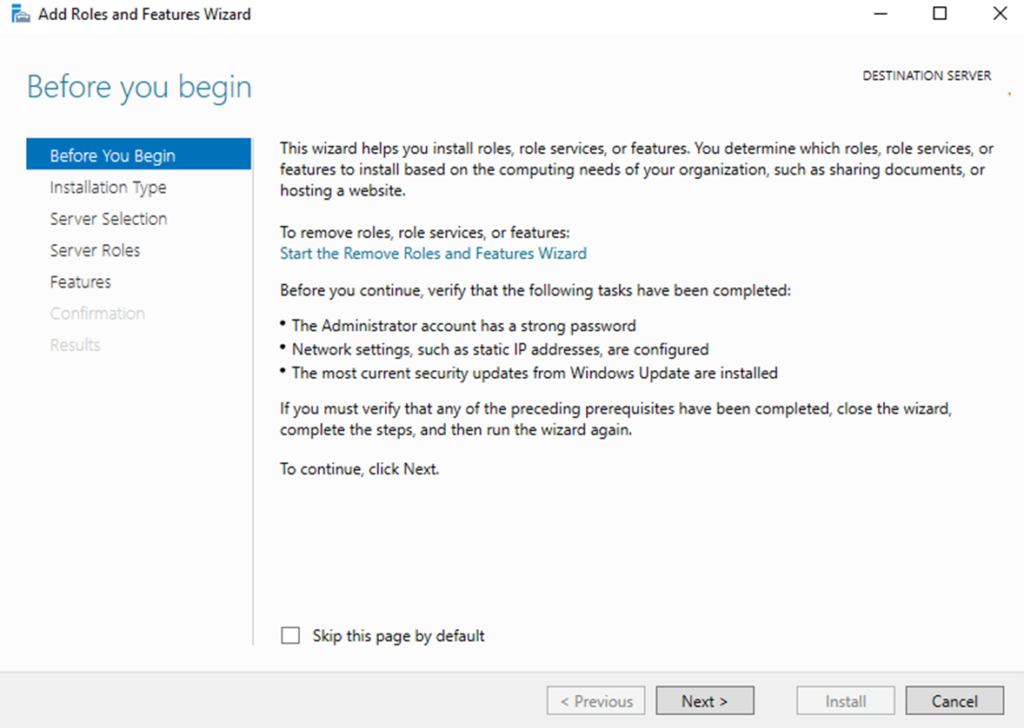
- Server Roles & Features – Head over to ‘Server Manager’, then ‘Add roles and features’. This will start your guided role setup:
- Role-based or feature-based installation: Opt for this choice.
- Active Directory Domain Services (AD DS): In the roles list, tick ‘Active Directory Domain Services’. This action will trigger a prompt to add some supporting features. Feel free to add any additional roles you want to play around with!
- Promotion Time- Post-role addition, you’ll get a prompt in ‘Server Manager’ to elevate your server to a domain controller. Dive in, set your domain details, functional levels, and, importantly, set a DSRM password.
- NetBIOS & Paths – The suggested NetBIOS name should work well. As for AD database, log, and SYSVOL paths, the defaults are fine for this lab environments, but they’re yours to customize if you wish.
Azure AD
With your local AD humming along, it’s time to set sights on the cloud.
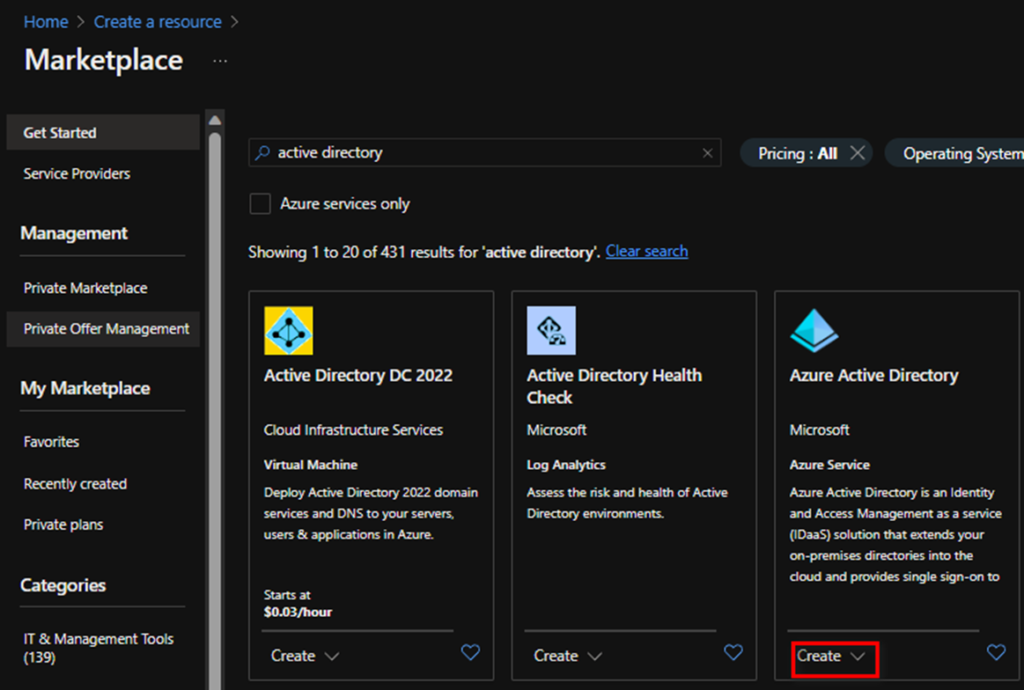
Log into the Azure portal.
Tenant Creation – I found, especially with an Azure Student Subscription, that I had to create a new tenant. And then switch over to that new directory.
Custom Domain Name & Verification
- After adding a new tenant I had to add my custom domain name, verify it and make it the primary.
You can do this by searching for “domain name” in azure.
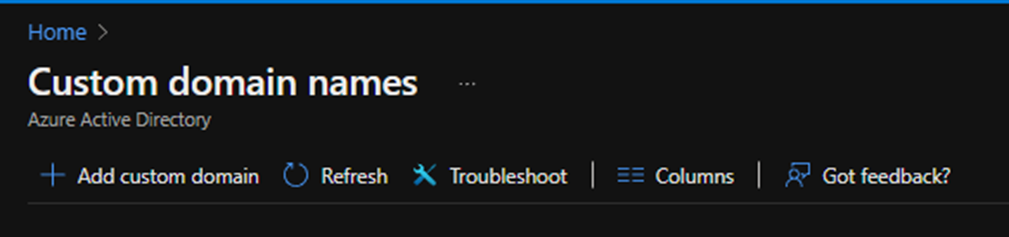
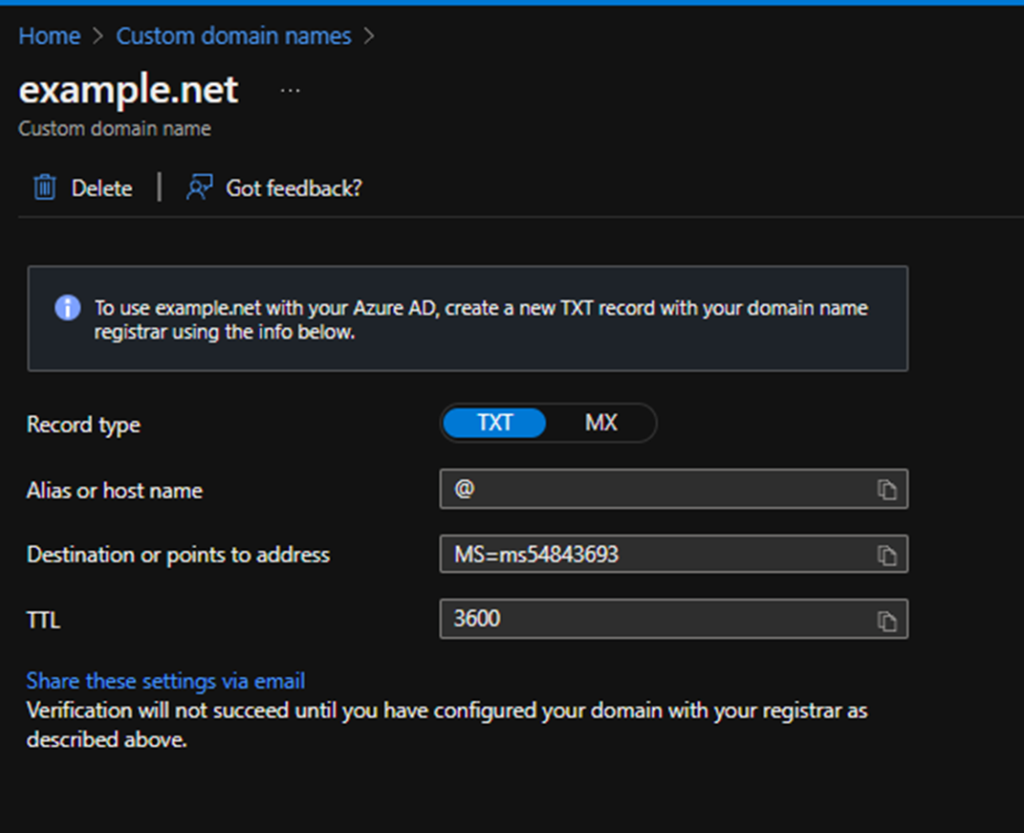
- In Azure AD, add a custom domain. Azure will provide you a TXT record to add to your domain registrar for verification.
Tip: While Azure suggests ‘@’, if you’re working with subdomains (like labs.yourdomain.com), use the subdomain name whatever that may be instead of the @ symbol. Verification can take time, so patience is essential.
Azure AD Connect – The Glue of Our Hybrid Setup
Download & Installation:
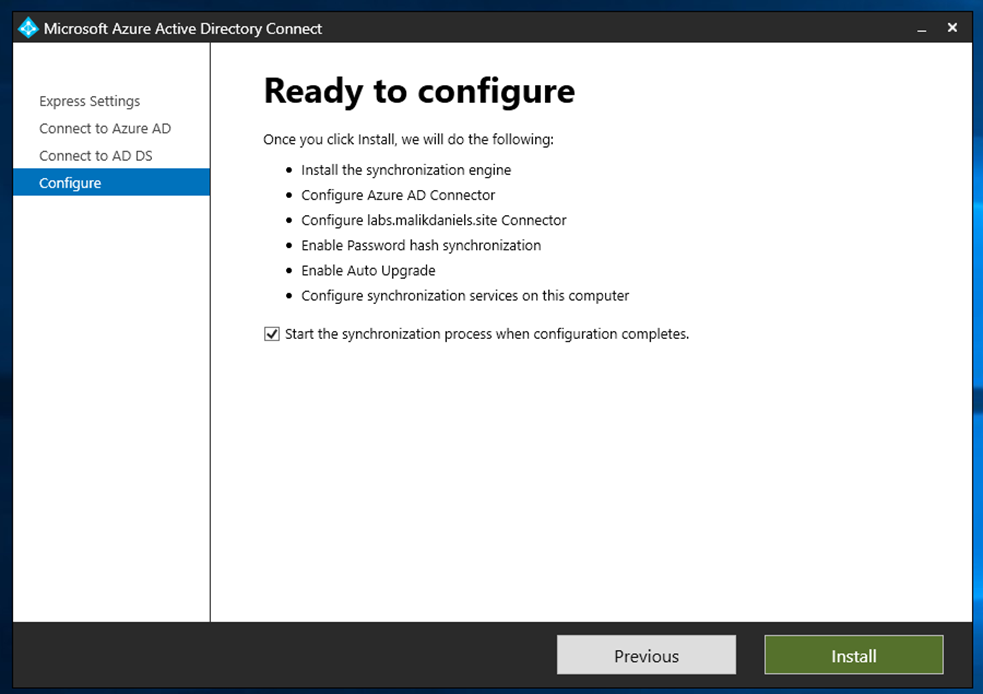
- Visit the Azure AD Connect download page and get the latest version. Install it on the same server where your local AD is set up.
- Credentials – Input your Azure Global Admin credentials. Remember to double-check permissions if you face any hiccups here. I personally created a Global Admin user and used that account for the connect.
- Sync Options – Choose what you wish to synchronize. For beginners, the defaults work just fine (Express).
- OU Filtering – If you want to be selective about which organizational units are synced, this is where you define it.
- Sync Methods – Choose between Password Hash Synchronization (PHS) and Federation (AD FS). PHS is simpler and ideal for starters.
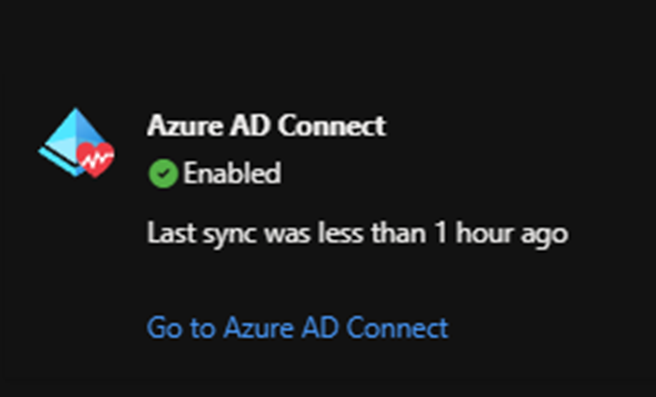
After in your Azure AD Overview page you should see that AD Connect is Enabled and when the last Sync was.
Wrap-Up
There were bumps along the way, but hey, that’s where the real learning happens. If you’re thinking of trying this out, just go for it! Learn from any mistakes, and enjoy the process. Can’t wait to dive into more labs and share my experiences. Catch you in the next one!